


Related posts
Dahua 22 inch Monitor
Dahua 22 inch Monitor DHI-LM22-A211Y is a 21.45-inch Full HD IPS monitor with a 120Hz refresh rate (overclockable), 1ms MPRT respo...
Open rack server vs Enclosed Server Racks
Open rack server vs Enclosed Server Racks: The Complete Scalability Decision Guide
Three years ago, a tech startup I consulted fo...
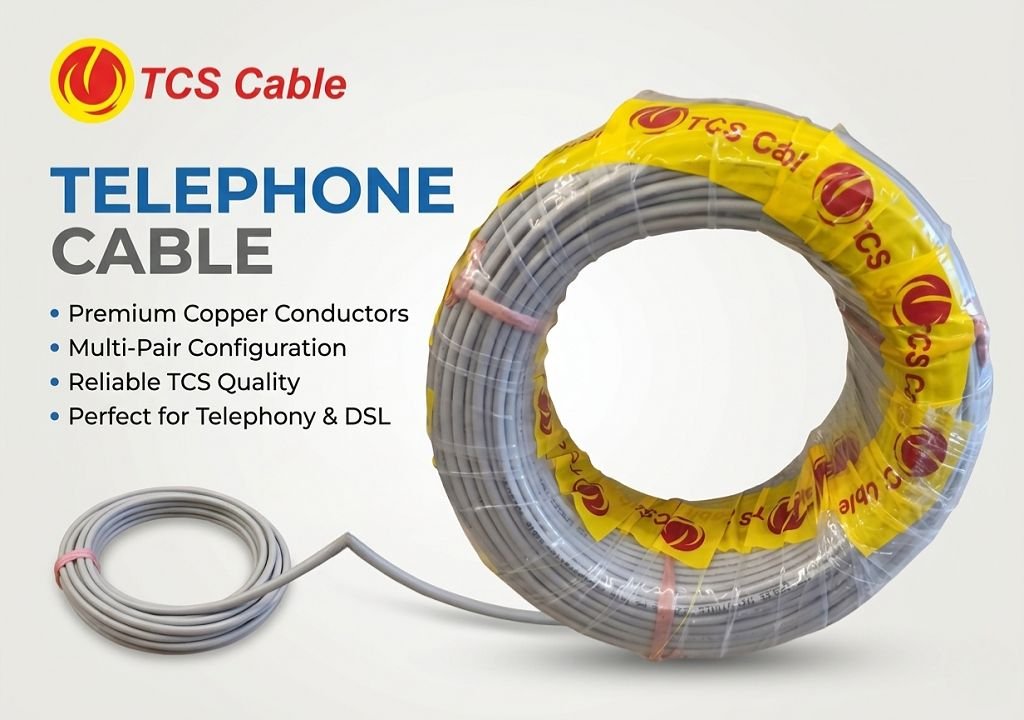
Telephone Cable Price in Bangladesh
Are you searching for the telephone cable price in Bangladesh but confused by all the different types, brands, and pair counts?
...
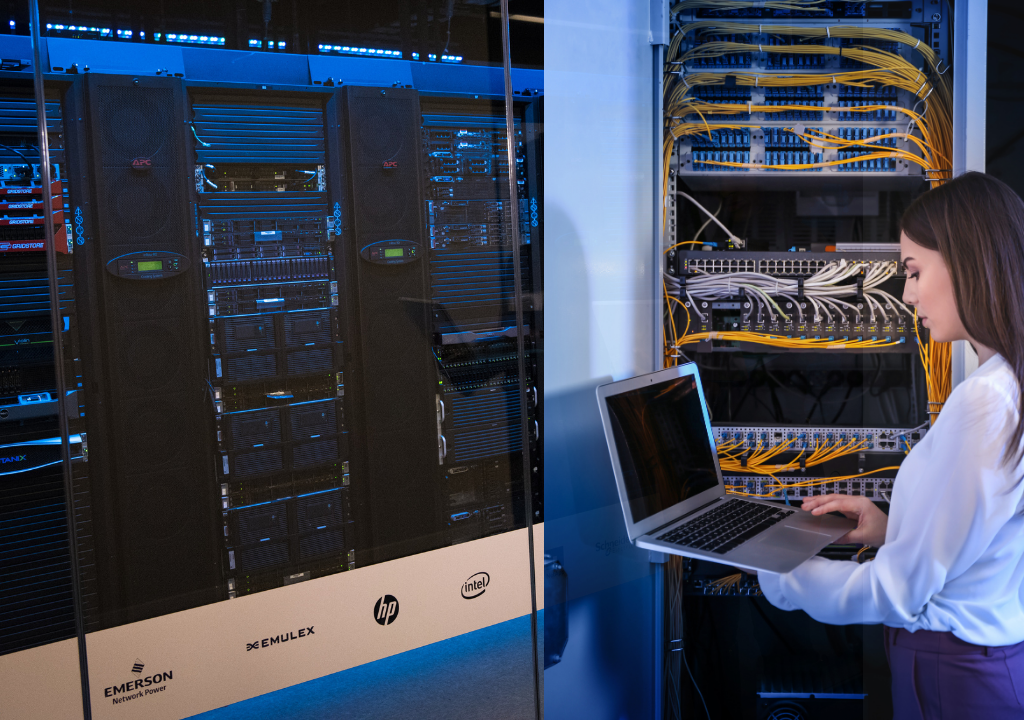
Buy internet server rack cabinet Online at Wholesale Price in Bangladesh
Looking to buy a server rack cabinet in Bangladesh at the best price? Whether you are setting up a small office network, a CCTV su...
What is PSTN?
What is PSTN? The Ultimate Guide to Traditional Phone Systems in Bangladesh
Ever wondered how a voice travels across the w...
Landline Phone Price in Bangladesh
Landline Phone Price in Bangladesh 2026: Best Models & Buying Guide
Is the landline phone a thing of the past? Not in ...
PABX Machine: Complete Guide to Features, Benefits, Uses & Buying Tips
Communication is the backbone of any successful organization. Whether you run a small office, a school, or a large business, manag...
Panasonic PABX Price in Bangladesh (2026) – Complete Buying Guide
In modern business communication, having a reliable telephone system is essential. A Panasonic PABX system is one of the most trus...
Panasonic 24 Port PABX
The price of a Panasonic 24-Port PABX System in Bangladesh typically ranges from ৳30,000 to ৳35,000, depending on the vendo...
How to use telephone
Using a standard corded telephone set is straightforward, though certain features vary by model. Here is a general guide on...
Master Telephone Set Price in Bangladesh
In Bangladesh, a master telephone set (also known as a key telephone or executive console) is typically used with PABX syst...
Panasonic Intercom price in Bangladesh
Panasonic intercom systems in Bangladesh range from simple single-unit telephones to complex PABX (Private Automatic Branch Exchan...