How to Mount a Server Rack to Your Wall: The Complete Bangladesh Guide
Whether you’re building your first homelab in Dhaka or setting up a small business network in Chittagong, you’ve probably wondered about the best way to mount a server rack to your wall. Trust me, I’ve been there – staring at an empty wall wondering if it can handle the weight of my dream server setup.
After years of working with server infrastructure across Bangladesh and helping countless people set up their homelabs, I’m sharing everything you need to know about wall-mounting server racks. This isn’t just another generic guide – it’s specifically written for our unique conditions here in Bangladesh.
What Exactly is a Homelab Server Rack?
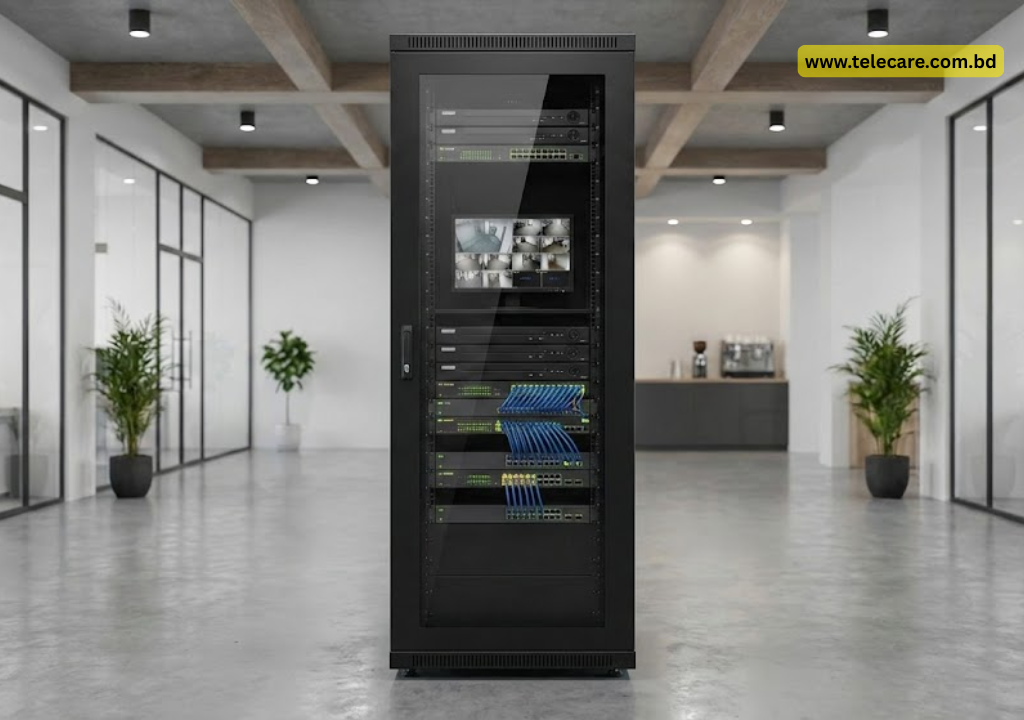
Before we dive into the mounting process, let’s talk about what we’re actually working with. A homelab server rack is basically your equipment’s new home – a standardized metal framework that keeps all your networking gear, servers, and storage organized and secure.
Think of it as the backbone of your tech setup. Unlike those massive enterprise racks you see in data centers, homelab racks are designed for real people with real space constraints. They’re typically:
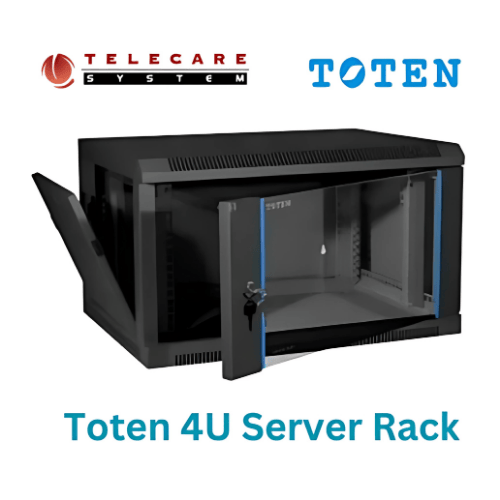
- Much smaller (usually 6U to 22U in height)
- Budget-friendly for individual users
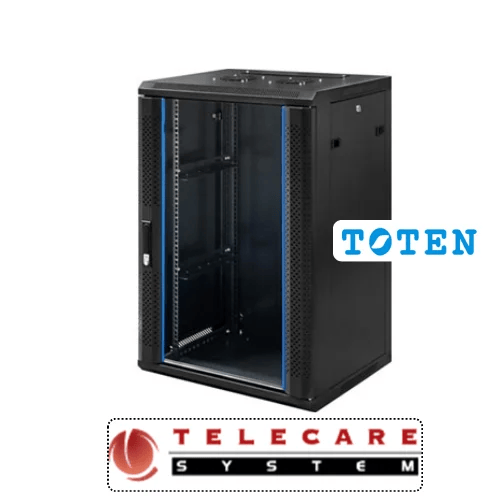
- Designed to mount on walls to save floor space
- Perfect for apartments and small offices
In Bangladesh’s growing tech scene, I’ve seen everyone from university students in Sylhet to startup founders in Dhaka embracing homelab setups. It’s becoming the go-to way to learn networking, host personal projects, and even run small businesses.
Why Do You Actually Need a Rack Server?
Good question! Let me break down what rack servers can do for you:
For Your Business:
- Host your company website locally
- Run your customer database
- Handle file sharing across your office
- Manage email servers
- Create backup systems
- Set up virtualization for multiple services
For Personal Projects:
- Build your own Netflix with Plex or Jellyfin
- Create personal cloud storage (goodbye Google Drive fees!)
- Run home automation systems
- Set up VPN servers for secure browsing
- Learn IT skills for career advancement
For Learning:
- Practice server administration
- Experiment with different operating systems
- Set up networking labs for certifications
- Build and break things without consequences
The beauty of having your own rack server setup is the control and learning opportunities it provides. Plus, with internet costs what they are in Bangladesh, having local storage and services can actually save money long-term.
Planning Your Server Rack Setup
What Equipment Goes in Your Rack?
Here’s what I typically recommend for a solid homelab setup:
The Essentials:
- A good 1U or 2U server (your main workhorse)
- Network switch (24-port is usually perfect)
- Patch panel for clean cable management
- UPS (absolutely critical in Bangladesh!)
- NAS device for storage
- Router/firewall appliance
Nice-to-Haves:
- KVM switch for managing multiple servers
- Environmental monitoring (temperature/humidity sensors)
- Additional servers for redundancy
- Dedicated backup devices
Pro Tip: Start small and grow. I’ve seen too many people buy massive racks and then realize they only need half the space. Better to start with a 12U rack and upgrade later.
Choosing the Right Rack Size
This is where many people get stuck. Here’s my simple approach:
Small Setup (6U-9U):
- Basic router, switch, small server, UPS
- Perfect for apartments or learning setups
- Budget-friendly starting point
Medium Setup (12U-18U):
- Multiple servers, larger switch, proper cable management
- Great for small businesses or serious homelabs
- Room for growth without going overboard
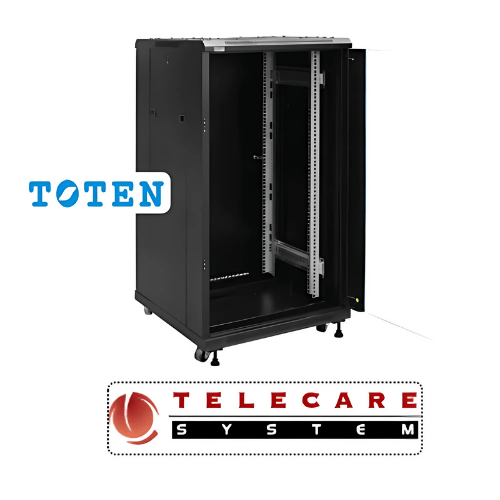
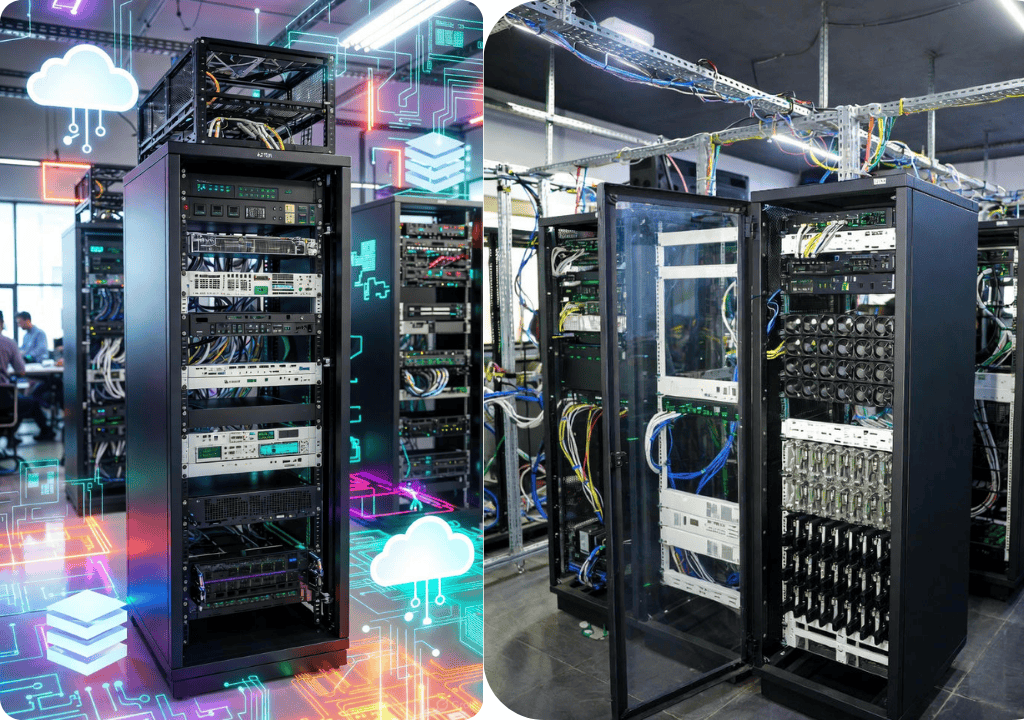
Large Setup (21U+):
- Multiple servers, redundant systems, extensive networking
- Serious business or advanced homelab use
- Requires significant wall space and power planning
My Recommendation: For most people in Bangladesh, a 9U wall-mount rack hits the sweet spot. It gives you room to grow without overwhelming your space or budget.
The Wall Mounting Process: Step by Step
Alright, here’s where we get into the real work. I’m going to walk you through this like I’m right there helping you.
Before You Start: Tools and Prep
Tools You’ll Need:
- Heavy-duty drill (not a cheap one – trust me on this)
- Masonry bits (for our typical concrete/brick walls)
- Long level (at least 60cm)
- Measuring tape
- Pencil for marking
- Socket wrench set
- Safety glasses and dust mask
- Vacuum cleaner for cleanup
Hardware Requirements:
- Wall mounting brackets (usually come with the rack)
- Heavy-duty concrete anchors (M12 minimum)
- Bolts, washers, and spacers
- Wall plugs rated for 300kg+ load
Step 1: Location, Location, Location
This is crucial. I’ve seen setups fail because people didn’t think this through:
What to Look For:
- Solid wall (concrete or brick – not drywall!)
- Close to power outlets (you’ll need several)
- Near network connections
- Good ventilation (remember, our weather gets hot!)
- Easy access for maintenance
- Away from direct sunlight or moisture
What to Avoid:
- Exterior walls (humidity issues during monsoon)
- Areas prone to flooding
- Near heat sources (AC units, direct sun)
- Cramped spaces where you can’t work comfortably
Step 2: The Measuring Game
This is where precision matters. Measure twice, drill once!
- Hold the rack against the wall where you want it
- Use your level to ensure it’s perfectly horizontal
- Mark the mounting holes with your pencil
- Double-check measurements against the rack specs
- Have someone verify your marks before drilling
Pro Tip: Take photos of your measurements. You’ll thank me later when you’re at the hardware store buying anchors.
Step 3: Drilling and Anchors
Here’s where many DIY projects go wrong. In Bangladesh, we’re usually dealing with solid concrete or brick walls, which require the right approach:
For Concrete Walls:
- Use a proper masonry bit (not a regular drill bit)
- Start with a smaller pilot hole
- Work slowly to avoid cracking
- Clear debris frequently
- Make holes about 10mm deeper than your anchor length
For Brick Walls:
- Avoid drilling into mortar joints
- Find the solid brick sections
- Be extra careful about cracking
- Consider using multiple smaller anchors rather than fewer large ones
Anchor Installation:
- Clean out all dust from holes (use compressed air if available)
- Insert anchors until flush with wall
- Test each anchor by pulling on it firmly
- Use thread locker on bolts for permanent installation
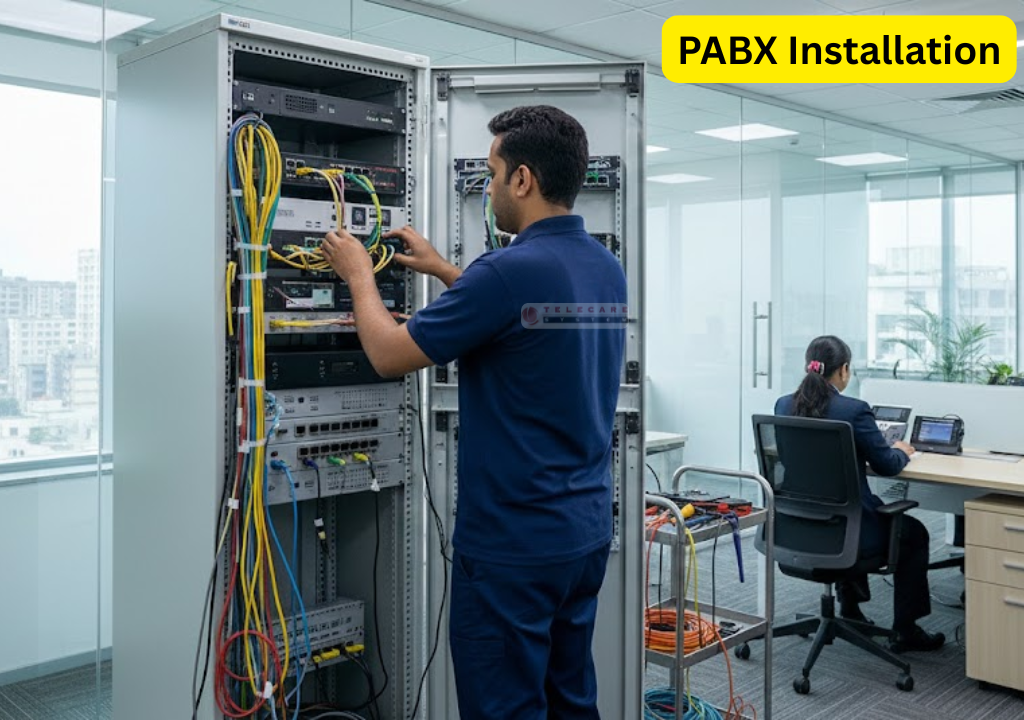
Step 4: Mount That Rack!
Now comes the satisfying part:
- Get a helper – racks are awkward to handle alone
- Position the rack against your marked spots
- Insert bolts through mounting brackets into anchors
- Hand-tighten first, then use your level to check alignment
- Gradually tighten all bolts to proper torque
- Do the “shake test” – the rack shouldn’t budge when empty
Safety Check: Before loading any equipment, hang on the empty rack. If it moves even slightly, something’s wrong. Don’t risk your expensive gear!
Setting Up Rails and Installing Equipment
Understanding Server Rails
Server rails are game-changers for maintenance. Here’s what you need to know:
Fixed Rails: Cheap and simple, but servers don’t slide out Sliding Rails: More expensive but worth it for maintenance access Tool-less Rails: Quick installation, perfect for frequent changes
Installation Order Matters
Load your rack from bottom to top, heaviest first:
- UPS at the bottom (heaviest and most stable)
- Main server (your primary workhorse)
- Network switch (central location for cable management)
- Storage devices (NAS, additional drives)
- Accessories (patch panels, cable management)
Cable Management Tips
This separates amateur setups from professional ones:
- Use velcro ties (not zip ties – you’ll need to change things)
- Label everything clearly
- Route power separately from data cables
- Leave slack for maintenance
- Use patch panels for network connections
Bangladesh-Specific Considerations
Dealing with Our Climate
Let’s be real – Bangladesh gets hot and humid. Your equipment needs to handle this:
Temperature Management:
- Install additional fans if needed
- Monitor temperatures regularly
- Consider the room’s AC situation
- Plan for power outages affecting cooling
Humidity Control:
- Use dehumidifiers during monsoon season
- Check equipment regularly for moisture
- Ensure good air circulation
- Consider silica gel packs for enclosed areas
Power Infrastructure Challenges
We all know power can be unreliable in many areas:
UPS Sizing:
- Calculate your total power draw
- Add 50% buffer for efficiency
- Plan for at least 30 minutes runtime
- Consider generator compatibility
Power Quality:
- Use voltage stabilizers if needed
- Monitor for power fluctuations
- Consider power conditioning equipment
- Have backup power plans
Local Sourcing Tips
Where to Buy Equipment:
- Dhaka’s computer markets (New Market, Multiplan)
- Online platforms (Daraz, PriyoShop)
- Specialized IT vendors for business equipment
- Import considerations for specialized gear
Cost-Saving Strategies:
- Buy during sale seasons (Victory Day, Independence Day)
- Consider used enterprise equipment
- Group buying with other enthusiasts
- Build relationships with local vendors
Common Mistakes to Avoid
After helping dozens of people with their setups, here are the mistakes I see repeatedly:
The “Good Enough” Wall Mount
Don’t cheap out on mounting hardware. That 50,000 taka server deserves better than a 500 taka wall mount. I’ve seen equipment crash because someone used inadequate anchors.
Ignoring Heat Management
“It’ll be fine” – famous last words. Bangladesh’s climate is unforgiving. Plan for cooling from day one, not after equipment starts overheating.
Cable Chaos
Take time for proper cable management. Future you will thank present you when you need to troubleshoot or upgrade.
No Growth Planning
That single server setup will grow. Trust me. Plan for at least 50% more capacity than you think you need.
Skipping Documentation
Label everything. Document everything. Your memory isn’t as good as you think, especially six months later when something breaks.
Maintenance and Monitoring
Regular Checks (Monthly)
- Verify wall mount security
- Check for loose cables
- Clean dust from equipment
- Monitor temperatures and humidity
- Test UPS systems
- Review logs for errors
Seasonal Maintenance
Pre-Monsoon (April-May):
- Check humidity protection
- Verify drainage around equipment area
- Test backup power systems
- Clean air filters
Post-Monsoon (October-November):
- Check for moisture damage
- Clean corrosion from connections
- Verify grounding systems
- Replace any weather-damaged components
When to Call Professionals
Don’t be a hero. Call for help when:
- Wall structural integrity is questionable
- Electrical work beyond your skill level
- Equipment warranty requirements
- Safety concerns arise
Advanced Tips and Tricks
Remote Monitoring Setup
Set up monitoring systems to keep tabs on your rack:
- Temperature and humidity sensors
- Network monitoring tools
- Power consumption tracking
- Automatic alerting systems
Backup Strategies
Plan for disasters:
- Offsite backups (cloud or different location)
- Regular testing of restore procedures
- Documentation of configurations
- Spare equipment for critical systems
Security Considerations
Protect your investment:
- Physical security (locks, cameras)
- Network security (firewalls, VPNs)
- Access control (who can touch what)
- Regular security updates
Wrapping Up: Your Next Steps
Building a proper server rack setup is a journey, not a destination. Start with a solid foundation – literally – by properly mounting your rack to the wall. Take time to plan your layout, invest in quality mounting hardware, and don’t rush the process.
Remember, this is your learning lab and potentially your business infrastructure. Do it right the first time, and you’ll have a reliable platform for years of experimentation and growth.
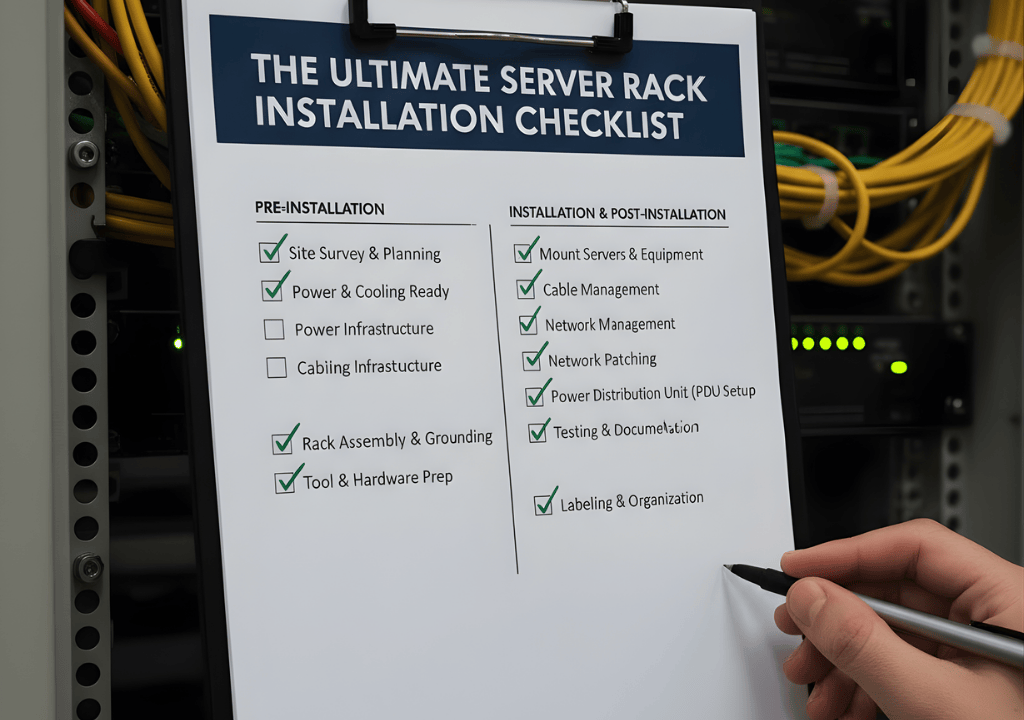
Quick Checklist Before You Start:
- [ ] Wall assessment completed
- [ ] All tools and hardware acquired
- [ ] Equipment layout planned
- [ ] Power requirements calculated
- [ ] Ventilation considerations addressed
- [ ] Helper enlisted for mounting day
- [ ] Backup plan if things go wrong
Final Thoughts
The tech community in Bangladesh is growing rapidly, and having your own homelab puts you at the forefront of that growth. Whether you’re learning for career advancement, running a side business, or just love playing with technology, a properly mounted server rack is your foundation for success.
Take your time, do it right, and don’t hesitate to ask questions in local tech communities. We’re all in this journey together, and sharing knowledge makes everyone stronger.
Good luck with your build, and welcome to the wonderful world of homelabs!
Have questions about your specific setup? Running into challenges with your wall mounting project? Drop a comment below – I read every single one and love helping fellow tech enthusiasts solve problems.
If this guide helped you out, consider sharing it with other aspiring homelab builders. The more people we can get into this hobby, the stronger our tech community becomes.
Visit our Server Rack store